
Configuring Central Server - PDQ Inventory
Purpose:
You wish to configure the PDQ Inventory Central Server. If you will be converting an existing PDQ Inventory console to Client Mode and have custom Collections, Scan Profiles, Reports, and Tools on that console, please check out the Migrating Custom Collections, Scan Profiles, Reports, and Tools from a Local Installation section of this article first.
Resolution:
There are three available options when configuring PDQ Inventory:
- Local Mode: a standalone console of PDQ Inventory using its own local database. This is the normal installation used in previous versions of PDQ Inventory.
- Server Mode: a PDQ Inventory console used to house the central database, collections, tools, scan profiles, and reports. Consoles in Client Mode will connect to this machine through a TCP port.
- Client Mode: the console(s) of PDQ Inventory used to connect to the Server's database (collections, tools, scan profiles, and reports). No local database or background service is installed on this machine.
Feature Overview:
Central Server addresses the need to share collections, tools (see important note below), scan profiles, and reports between PDQ Inventory consoles by creating a server/client relationship. In this model, the PDQ Inventory consoles in Client Mode access the collections, reports, and tools on the PDQ Inventory console running in Server Mode, using the Server's database and background service. The PDQ Inventory console in Server Mode may also initiate scans and perform other tasks; however, they are initiated in the same way a standalone, locally-installed PDQ Inventory console would.
In the Server/Client relationship, only one server is possible, but there may be multiple client PDQ Inventory consoles. There may be multiple server/client relationships, meaning an organization may have multiple servers, each with their own respective (and discrete) client consoles (see notes at the end of this article for more information and limitations).
IMPORTANT:
- If a file is required for a tool (for example, Dameware or PsExec), the file will need to be installed on the PDQ Inventory client console. The tool definition is stored on the server, but is executed on the client.
- When in Server or Client Mode, Scan Caching is no longer an option. Central Server replaces Scan Caching.
- In existing PDQ installations, PDQ Inventory consoles configured in Server Mode will retain all collections, tools, scan profiles, and reports, including any custom items. On the other hand, PDQ Inventory consoles configured in Client Mode will not retain any custom collections, tools, reports, variables, or custom fields. Please see the Central Server: Migrating Existing Installations that use Custom Collections, Tools, and Reports article for instructions on how to migrate packages from Client Mode PDQ consoles to the server.
- As a corollary to the above, shared collections and reports are also not retained between PDQ Inventory Server/Client Mode consoles. Sharing will be disabled on PDQ consoles where Server or Client Mode is selected and the collections or reports will be retained on the console where they were created. Please see the Sharing Has Been Superseded By The New Central Server Feature article for additional information on how to migrate existing PDQ Inventory consoles.
- You may receive a warning if the number of active sessions between the client consoles of the PDQ program exceeds the number of licenses that exist for the account. For more information on this warning, please see the Concurrent Sessions Exceeded The Licensed Limit article.
Setting up PDQ Inventory Server Mode:
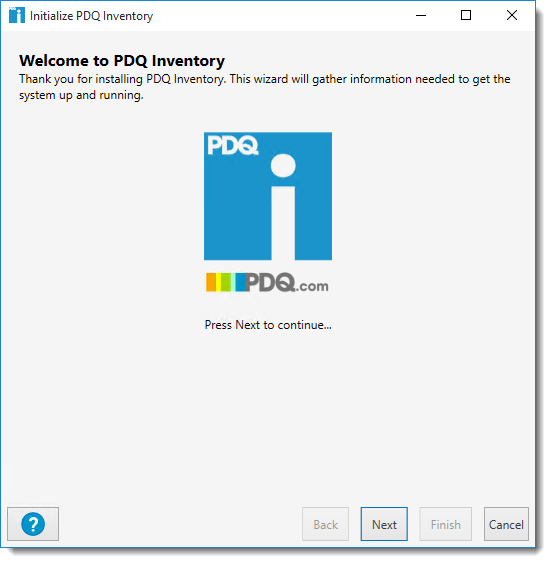
1. Upon installing a new PDQ Inventory console version 13 or greater, you will prompted to complete the post-installation wizard:
2.You will be prompted to enter your PDQ Inventory license. (Enterprise license required for Central Server.) Enter the license or browse to the license text file and click OK.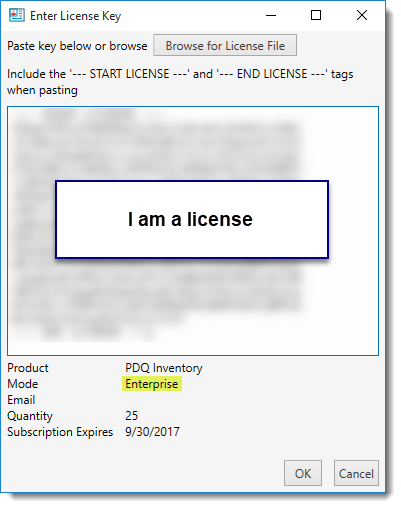
3. Click Next on the License Key window.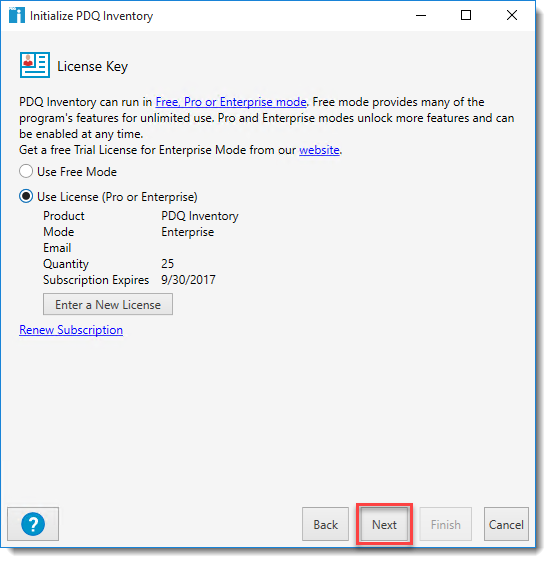
4. In the Enterprise Installation Type window, select Server and click Next.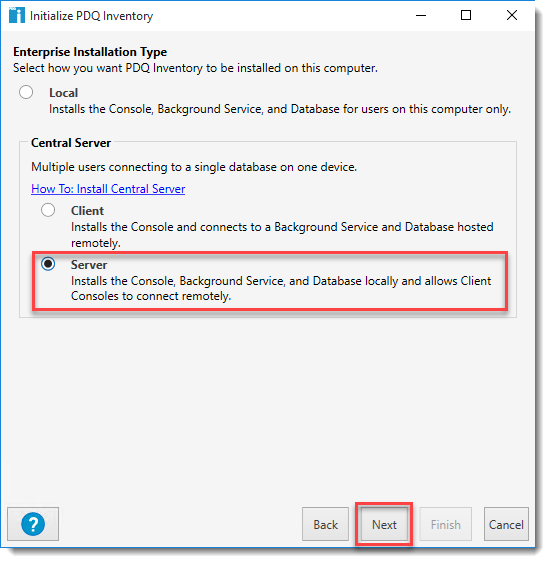
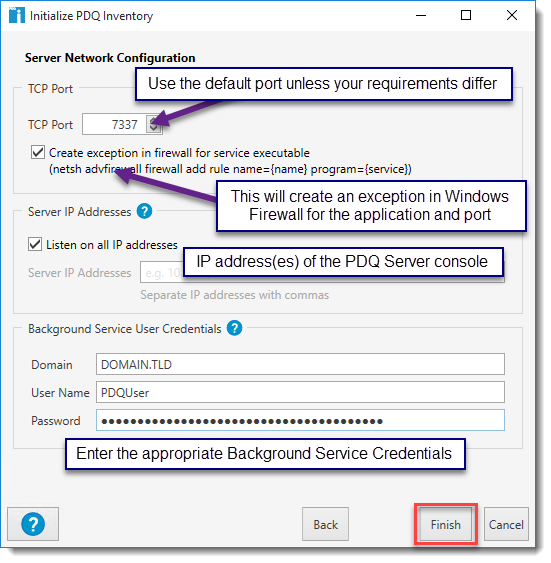
5. In the Server Network Configuration window, select the appropriate values.
- TCP Port: By default, PDQ Inventory will use unassigned port number 7337. If you are using port 7337 on the PDQ console, change this to an unassigned port (for example: 7575, 8282). If Windows Firewall is enabled, check the Create exception in firewall for service executable box to open up the TCP port in Windows Firewall.
- Server IP Addresses: For a multi-homed PDQ Inventory console, select either Listen on all IP addresses (default) or enumerate the Server IP Addresses in the text field. Values are comma-delimited, e.g. 172.16.155.200,10.144.144.42).
- Background Service User Credentials: These credentials are used to run the PDQ Inventory service. The user must have administrative privileges on the PDQ Inventory server console computer and any PDQ Inventory consoles running in Client Mode. Credentials must be entered before continuing the Initialize PDQ Inventory wizard.
NOTE:
The Windows Firewall exception is equivalent to running the following command:
netsh advfirewall firewall add rule name="PDQ Inventory" dir=in action=allow program="C:\Program Files (x86)\Admin Arsenal\PDQ Inventory\PDQInventoryService.exe" enable=yes localport=7337 remoteport=7337 protocol=tcp profile=any
6. Click Finish to complete the wizard.
Setting up PDQ Inventory Client Mode:
IMPORTANT: If the PDQ Inventory console will be running in Client Mode and has or will have PDQ Deploy installed, PDQ Deploy must be at version 7.2 or higher, though it is strongly recommended you run PDQ Deploy 13 or higher. Prior versions of PDQ Deploy will not integrate with PDQ Inventory consoles running in either Client or Server Mode.
1. Upon installing a new PDQ Inventory console version 13 or greater, you will prompted to complete the post-installation wizard:
2. You will be prompted to enter your PDQ Inventory license; Central Server requires an Enterprise license. Enter the license or browse to the license text file and click OK.
3. Click Next on the License Key window.
4. In the Enterprise Installation Type window, select Client and then Next.
IMPORTANT: In order to set up a PDQ Inventory console in Client Mode, a server PDQ Inventory console must already be configured and operational.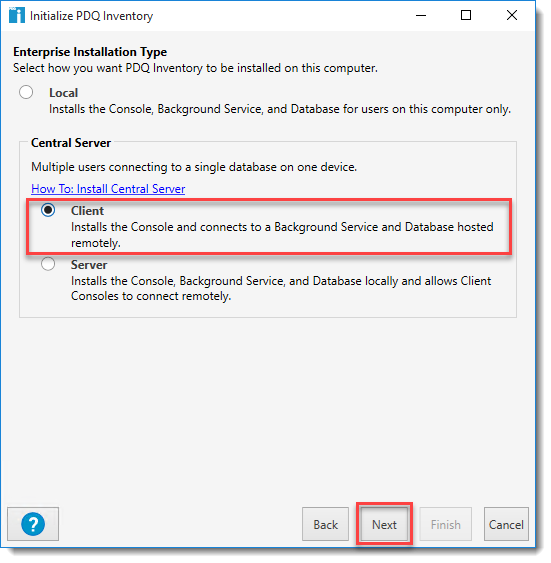
5. In this window, type the name of the PDQ Inventory console operating in Server Mode and the port used by that server.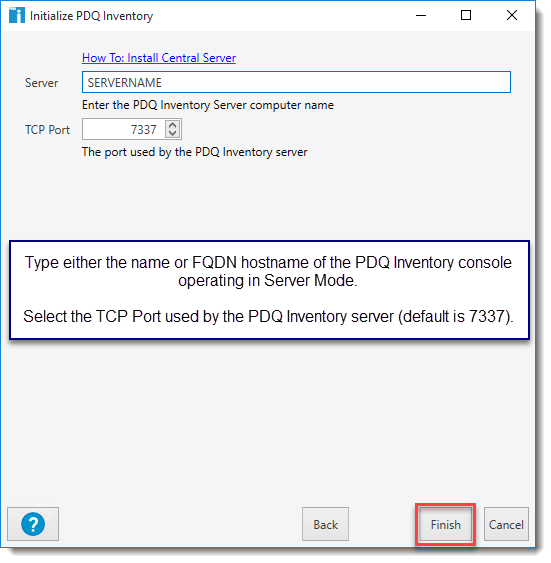
6. Click Finish to complete the wizard.
Important Menu Changes:
Significant changes were made to the PDQ Inventory menu bar to include the Options menu item, which now includes the following:
- Scan Profiles (Previously under File > Preferences > Scan Profiles)
- Custom Fields (Previously under File > Preferences > Custom Fields)
- Credentials (previously under File > Preferences > Credentials)
- Variables (previously under File > Preferences > Variables)
- Console Users (previously under File > Preferences > Background Service)
- Central Server (new item with PDQ Inventory 13)
- Background Service (previously under File > Preferences > Background Service)
- Collection Page (previously under File > Preferences > Collection Page)
- Preferences (previously under the File menu item)
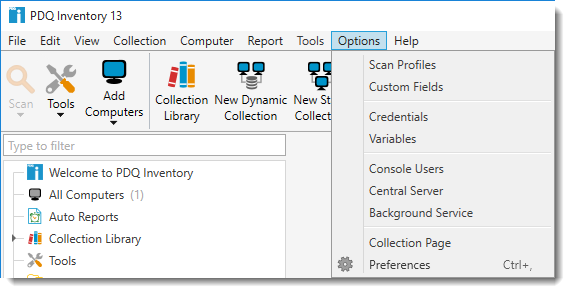
Additionally, license information was moved from File > Preferences > License to the Help menu item (Help > License).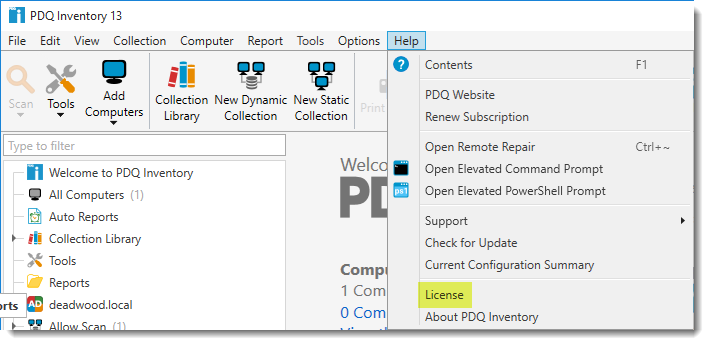
These changes were made to follow industry standards and separate items that need to be saved/applied versus those that do not need to be saved in order to be applied. For example, the Options > Preferences window now contains the Save toolbar item:
Background Service and Credentials:
PDQ Inventory consoles running in Client Mode do not run the background service and therefore do not need access to this option. Instead, the PDQ Inventory clients use the background service running from the Server console.
When running in Server Mode, PDQ Inventory Options > Background Service shows the following window: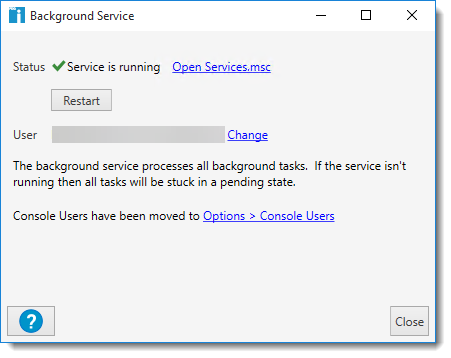
When running in Client Mode, PDQ Inventory Options > Background Service shows the following window since the background service now runs on the PDQ Inventory server console: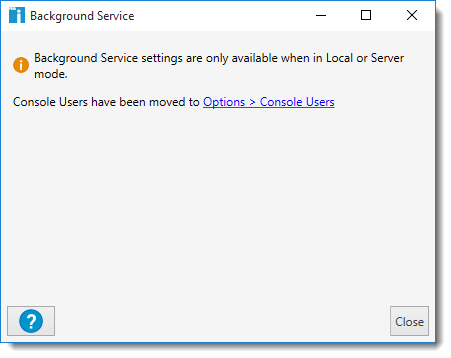
NOTES:
- While the PDQ Inventory console running in Server Mode performs the majority of tasks initiated from the PDQ Inventory Client Mode consoles, certain limitations apply, such as running Tools, which are performed by the local PDQ Inventory console. If files (for example, Dameware or PsExec) are required for a tool, it must be available on PDQ client console.
- It is possible to have multiple PDQ Inventory consoles operating in Server Mode, but it is not possible for a PDQ Inventory console running in Client Mode to connect to more than one server at a time.
- Sessions from a Client to the Server, including the Server (if the console is open on the Server), are limited by the number of concurrent sessions as defined by the quantity enumerated in your Enterprise license. See Current Sessions Exceeded the License Limit for more information.
Migrating Custom Collections, Scan Profiles, Reports, and Tools from a Local Installation
Exporting Custom Collections
- In the main window of a PDQ Inventory console running in Local Mode, select the custom collections you wish to export. Right-click the selection and click Export from the context menu.
- Note: The pre-built Dynamic Collections and the Collection Library do not need to be exported.
Exporting Custom Scan Profiles?
- In the main window of a PDQ Inventory console running in Local Mode, navigate to Computer > Scan Profiles or click on Scan Profiles in the top ribbon. Select one or more custom scan profiles, right-click the selection, and click Export from the context menu.
- Note: The pre-built Scan Profiles do not need to be exported.
Exporting Custom Reports
- In the main window of a PDQ Inventory console running in Local Mode, navigate to the Reports folder in the Navigation Pane. Select one or more custom reports, right-click the selection, and click Export from the context menu. If you have organized your custom reports in folders, you can also right-click the folder and click Export from the context menu.
- Note: The pre-built Reports do not need to be exported.
Exporting Custom Tools
- In the main window of a PDQ Inventory console running in Local Mode, click on the Tools menu in the Navigation Pane. Select one or more custom Tools, right-click the selection, and click Export from the context menu.
- Note: The pre-built Tools do not need to be exported.
Importing Custom Packages and Schedules
- On the PDQ Inventory console in Server Mode, open File > Import (or Ctrl+I), navigate to the saved XML file and import the XML.
- The Collections, Scan Profiles, Reports, and Tools will then be imported into PDQ Inventory.
- Proceed to configure Client Mode on the PDQ Inventory console designated to be the client.