How to Synchronize Active Directory with PDQ Inventory
Purpose:
You wish to create a mirror of your Active Directory (AD) infrastructure in PDQ Inventory.
NOTE: PDQ Inventory Enterprise is required for AD Sync.
Resolution:
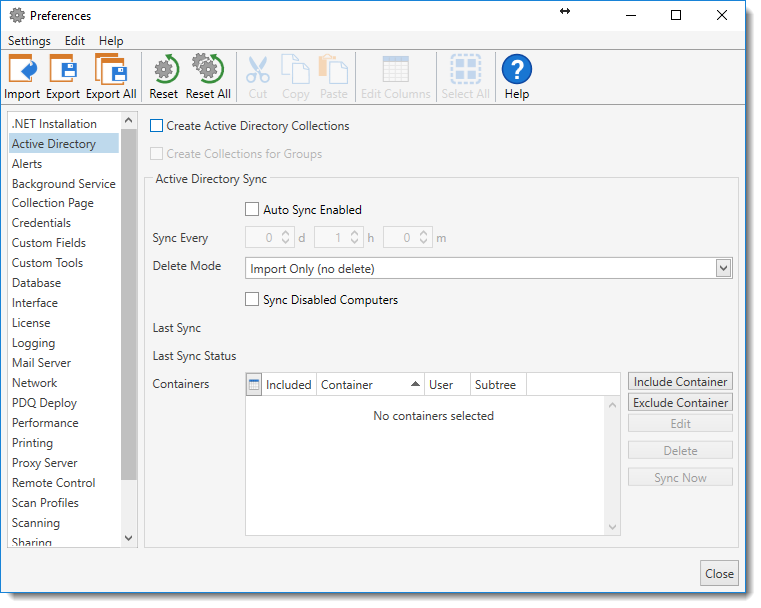
Mirroring the AD structure within PDQ Inventory is configured using PDQ Inventory, File > Preferences > Active Directory (Ctrl+, > Active Directory) settings. Additional documentation is available Here. You can also watch a handy video Here.
Important:
- PDQ Inventory does not make any changes to Active Directory. AD Sync is strictly a one-way, read only, Do Not Enter feature. That means deleting a computer in Inventory will not delete the machine in AD.
- The computer must have the dNSHostName attribute set in order to be synchronized with Active Directory. If you have prestaged computers, those computers will likely not have the dNSHostName attribute and will not be included in AD Sync.
To Enable AD Sync:
1. Navigate to PDQ Inventory, File > Preferences > Active Directory (Ctrl+, > Active Directory).
2. Select Create Active Directory Collections to create a mirror of your AD hierarchy in PDQ Inventory’s main navigation tree, defined by the icon below. Note: if this setting is unchecked after the AD collections have been created, the collections will be removed from the main navigation tree at the next computer scan.
3. If you would also like to have AD groups included in the sync, check Create Collections for Groups.
If you have computers that are pre-staged in a group or an OU and none of the computers in either the group or OU has the dNSHostName attribute set, not only will the computers not be included in the sync, but neither would the group nor OU. Groups and OUs are only included if there is at least one member computer that has the dNSHostName attribute.
4. It is also strongly recommended to enable (check) Auto Sync Enabled. The default sync interval (Sync Every) of one hour is reasonable.
5. Set the desired Delete Mode. Three Delete Modes are available.
-
Import Only (no delete):
Pretty much like it says on the tin. No computers are deleted during AD Sync. If a computer is removed or disabled from AD, the computer will remain in PDQ Inventory until manually deleted. This is the default setting.
The advantage of using this setting is that nothing is ever deleted from PDQ Inventory’s database. Information may be kept for historical purposes for as long as required.
The disadvantage of using this setting is that nothing is ever deleted from PDQ Inventory’s database. Housekeeping becomes a manual process.
-
Mixed Sync (do not delete computers not part of sync):
Mixed Sync will delete computers that meet the following conditions:
1. The computer was originally added by AD Sync in an Include Container.
2. The computer was removed or disabled within AD or the computer was moved in AD from an Include Container to an Exclude Container.
Mixed Sync will not delete computers where the computer was originally added by another method such as Active Directory- Browse by Name, Network Discovery, or By Name.
-
Full Sync (delete all computers not part of sync):
Deletes all computers from PDQ Inventory that are not in an Include Container regardless of how the computer was added (e.g. Active Directory- Browse by Name, Network Discovery, or By Name). This mirrors AD exactly. If a machine is moved from an Include Container to an Exclude Container, the machine will be deleted from PDQ Inventory at the next AD Sync. Use this setting with care, and never in environments where you are also using PDQ Inventory to catalogue non-domain computers.
To identify how a computer was added to Inventory, you may add the column “Added From” to your main view, and/or create a report that shows that column.
6. Select Sync Disabled Computers. This is optional and unchecked by default.
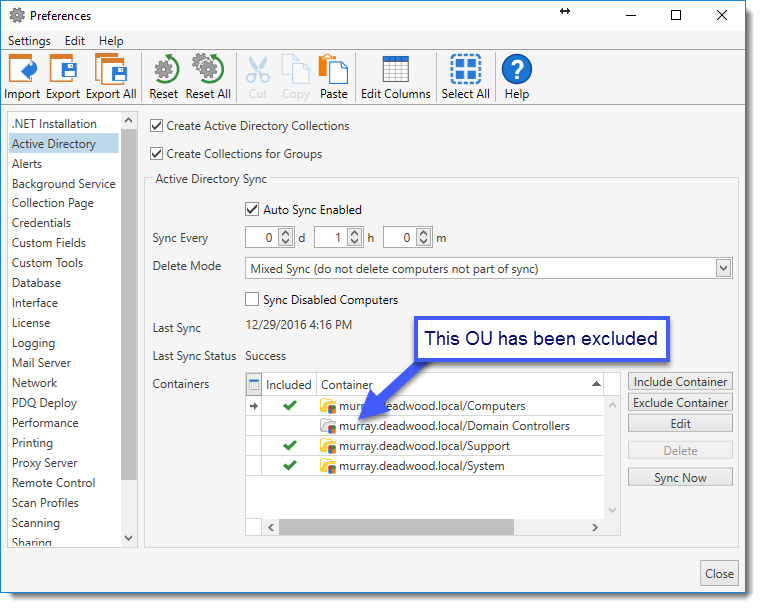
Once the above options have been selected, the Active Directory preferences would look something like:
7. In order to perform AD Sync, an Include Container must be selected. Click on the Include Container button to open the Select Include Container window. In the example below, we’ve selected the domain root and checked the Include Sub-Tree option (checked by default), which will automatically include everything below the highest level container selected.
If you want to select specific containers, you can do so by selecting them one at a time until all the desired containers are selected. Likewise, you can exclude containers by selecting the Exclude Container button and selecting the container(s) you would like to exclude:
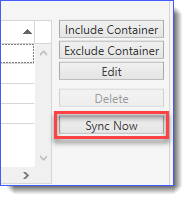
8. Once the container information has been set satisfactorily, click the Sync Now button to perform an AD Sync. Assuming Auto Sync Enabled is checked, Active Directory Synchronization will next occur at the selected Sync Every interval.
See Also:
OUs Not Showing in PDQ Inventory (AD Sync) Containing Computer Objects
Active Directory Preferences Page
Getting Started with PDQ Inventory
DNS-Host-Name attribute